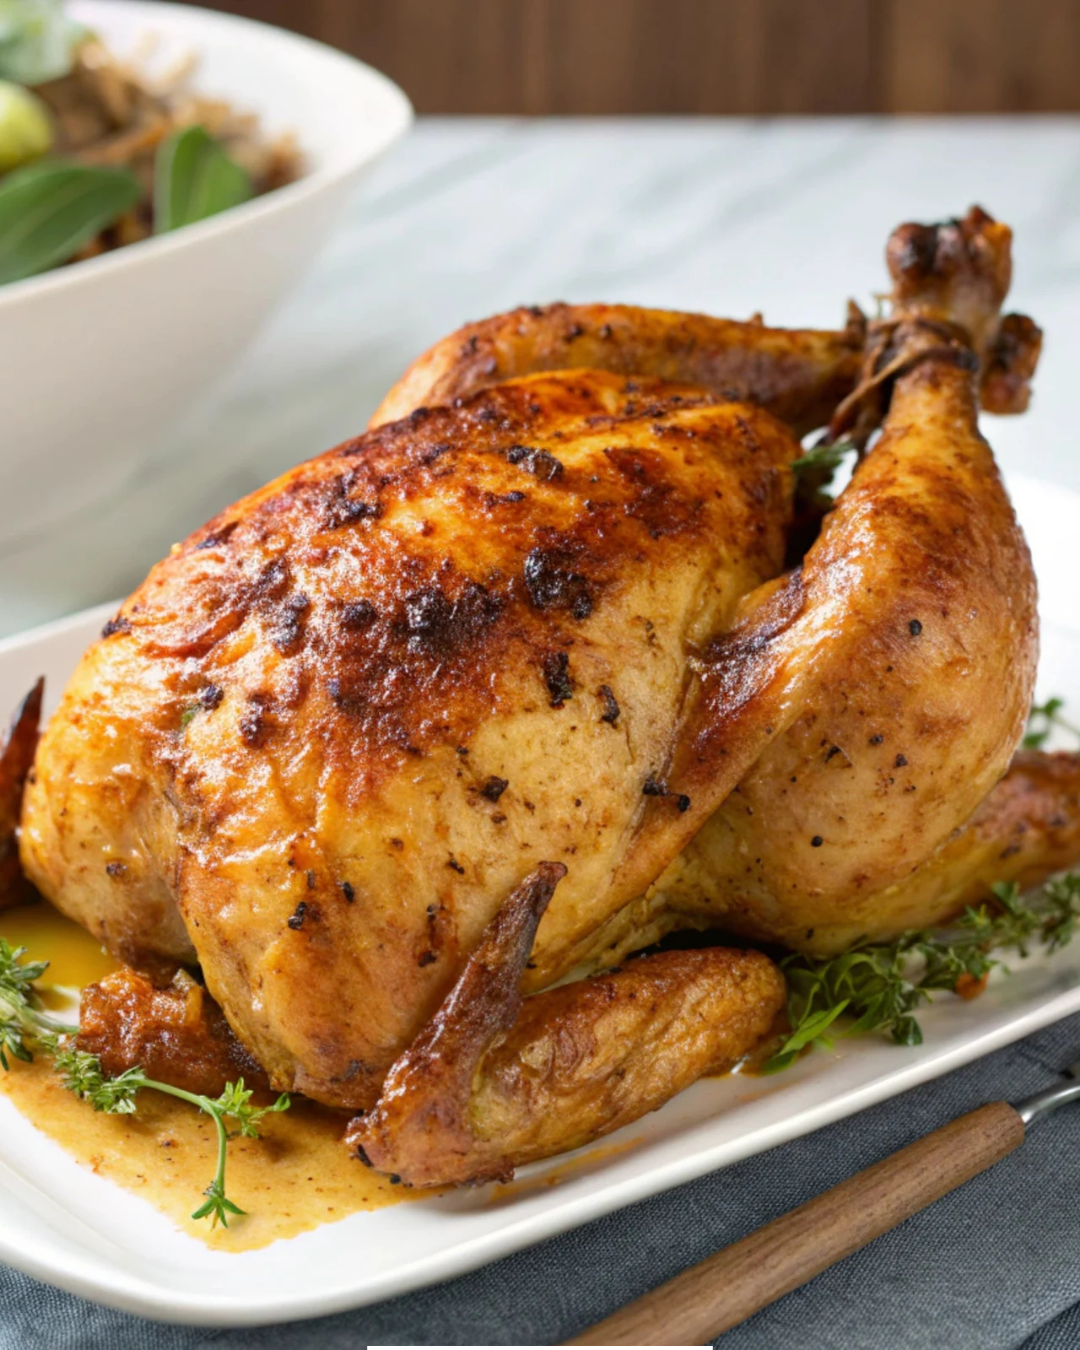
I’m going to break down why the Serious Eats dry brine turkey recipe has become my go-to every year (spoiler: it’s all about the science-backed techniques).
Thanksgiving is around the corner, and if you’re anything like me, you’ve been dreaming about that perfectly roasted, golden-brown turkey centrepiece—crispy skin, juicy meat, and flavours that make everyone at the table pause and say, “Wow.” But let’s be real here: for years, I was intimidated by turkey prep.
This isn’t just a recipe; it’s a revelation. When I first tried it, I was floored by the results. The meat was tender and juicy, the skin crackled with crispy perfection, and the seasoning reached all the way through to the bone. And the best part? It’s ridiculously easy—no giant buckets of brine or awkward refrigerator manoeuvring required.
Table of Contents
Why the Serious Eats Dry Brine Method Works
The science behind this recipe is simple yet effective. Salt draws moisture out of the meat, dissolves, and is reabsorbed into the turkey, bringing flavour to every layer. Unlike wet brining, which can result in a slightly waterlogged texture, dry brining enhances the meat’s natural flavor, all while keeping it tender and juicy. Plus, it’s easier, tidier, and doesn’t require gallons of fridge space—trust me, that’s a holiday miracle on its own.
How to make Serious Eats Dry Brine Turkey
Serious Eats Dry Brine Turkey is a turkey preparation method in which the turkey is seasoned with salt and refrigerated uncovered for an extended period before roasting.
Ingredients
For the Brine:
- Kosher Salt: You’ll need about 1 teaspoon of salt for every pound of turkey.
Optional Seasonings (customize as you like):
- Ground black pepper
- Brown sugar, white sugar, or maple sugar (for a touch of sweetness)
- Lemon or orange zest (for brightness)
- Garlic powder, onion powder, smoked paprika, thyme, rosemary, or sage (for an herbaceous boost)
For the Turkey:
- 1 whole turkey, about 12–16 pounds (fresh or thawed, and giblets removed)
For Roasting:
- Optional: Olive oil or melted butter for basting
- Aromatics for stuffing the cavity (e.g., halved lemons, garlic cloves, fresh herbs like rosemary or thyme, or an onion)
Instructions
Step 1: Prep the Turkey
- Thaw the turkey (if it’s frozen). Place it in the fridge a few days in advance to allow it to defrost completely. Cooking a partially frozen turkey will lead to uneven cooking.
- Remove the neck, giblets, and excess fat from the cavity. Pat the turkey dry using paper towels; the dryer the skin, the crispier it will get.
Step 2: Apply the Dry Brine
- Measure the salt: Use about 1 teaspoon of kosher salt per pound of turkey weight. You can add other seasonings like sugar, citrus zest, or herbs to the salt if desired, but keep the salt as your base.
- Loosen the skin of the turkey: Starting at the cavity or neck, gently slide your fingers under the skin of the breast and thighs to separate it from the meat. This allows some of the brine to penetrate directly under the skin.
- Salt the turkey: Sprinkle and rub the salt mixture evenly over the surface of the turkey, including under the skin and inside the cavity. Be generous but not excessive.
- Place the turkey on a wire rack set inside a rimmed baking sheet, breast-side up. This setup allows any moisture drawn out by the salt to drain off, keeping the skin dry.
- Refrigerate the turkey, uncovered (or lightly covered with plastic wrap), for 12 to 48 hours, depending on how much time you have. The longer it sits, the better.
Step 3: Rest and Prep before Roasting
- After brining, remove the turkey from the fridge and let it sit at room temperature for about 1–2 hours. This helps ensure even cooking.
- If there is excess salt or any visible moisture on the skin, gently wipe it off with a paper towel. Refrain from rinsing the turkey, as this can ruin the skin’s crispiness and spread bacteria.
Step 4: Roast the Turkey
- Preheat your oven to 450°F (232°C) for a high-heat roast, or 325°F (163°C) for a lower, slower roast.
- Place the turkey breast, skin-side up, on a rack in a roasting pan. If desired, rub the skin with olive oil or melted butter for added flavor and browning.
- Insert the thermometer probe into the thickest part of the breast (avoid bone). Monitor the temperature to avoid overcooking.
- Roast until the breast meat reaches 155°F (68°C) and the thigh meat hits 165°F (74°C). For a spatchcocked turkey, this usually takes about 90 minutes (for a 12–14 lb bird). A whole turkey may take 2–3 hours at lower temperatures, depending on its size.
- If the skin browns too quickly, tent the bird loosely with foil.
Step 5: Rest and Carve
- Remove the turkey from the oven and let it rest for at least 20–30 minutes. Resting allows the juices to redistribute, ensuring moist and flavorful meat.
- Carve the turkey and serve!
Tips for the best Serious Eats Dry Brine Turkey
- Spatchcocking (removing the backbone and flattening the bird) allows the turkey to cook more evenly and reduces cooking time. It’s a Serious Eats hallmark for a reason—it works. Plus, it provides more surface area for ultra-crispy skin.
- Use a reliable instant-read thermometer to monitor your turkey’s internal temperature. Overcooking is the quickest way to end up with dry meat, and a thermometer takes the guesswork out of the equation.
- Leaving the turkey uncovered in the fridge while dry brining helps dry out the skin, leading to that iconic golden-brown crispiness when roasted.
- Get creative with your dry brine! Serious Eats recommends zesting citrus peels, adding fresh or dried herbs, and even incorporating sugar for a caramelized touch. These add complexity to your turkey’s flavor without overcomplicating the process.
- For a deeply crisped skin, start with a blast of high heat (around 450°F) for the first 30–45 minutes, then reduce the temperature to around 325°F for the rest of the cooking time.
Ingredients Substitutes
The Serious Eats Dry Brine Turkey recipe is incredibly versatile, allowing you to use substitutes or make tweaks to accommodate dietary restrictions, ingredient availability, or personal preferences.
1. Kosher Salt Substitute
Kosher salt is the backbone of the dry-brining process because its coarser crystals distribute easily over the turkey. However, if you don’t have kosher salt, here are some substitutes:
- Sea Salt: Use a coarse or flaky sea salt for a similar effect. Measure by weight (not volume) since sea salt crystals vary in size. For comparison, 1 teaspoon of kosher salt is roughly equivalent to 1 teaspoon of coarse sea salt.
- Table Salt (Not Recommended, But Possible): If using table salt, reduce the amount by half since it is finer and denser than kosher salt. For example, if the recipe calls for 1 teaspoon of kosher salt per pound, use only ½ teaspoon of table salt per pound.
2. Brown Sugar Substitute
If the recipe includes sugar in the Serious Eats Dry Brine Turkey to add a light sweetness and help caramelize the turkey skin, but you don’t have brown sugar on hand, try these alternatives:
- White Sugar: Use the same amount of granulated white sugar as a direct swap. While the flavor won’t be quite as deep, it will still add sweetness.
- Maple Sugar: Maple sugar offers a more complex, slightly nutty sweetness. It pairs exceptionally well with turkey and is a flavorful, natural alternative.
- Coconut Sugar: Coconut sugar has a texture similar to brown sugar and imparts a subtle caramel flavour.
- Honey or Maple Syrup (for a wet rub alternative): If you’re open to adjusting the texture of the brine, using honey or maple syrup can create a sticky coating that promotes browning. Reduce the amount slightly since these are more concentrated in sweetness.
3. Citrus Zest Substitute
Citrus zest, often used in brine recipes, brightens the flavors of the turkey. Here’s what to use if you don’t have lemons or oranges:
- Lime Zest: Lime zest works great as a substitute and pairs beautifully with herbaceous dry brine mixtures.
- Grapefruit Zest: Grapefruit zest lends a slightly bitter yet aromatic flavor that’s unique but complementary.
- Dried Citrus Peel: If fresh citrus isn’t available, use dried citrus peel. Crush or grind them lightly before adding to the brine for maximum flavor.
- Lemon or Lime Extract: A tiny amount of extract (¼ teaspoon per teaspoon of zest) can replace zest in a pinch. However, be sure to distribute it evenly.
4. Herbs and Aromatics Substitute
Fresh or dried herbs and aromatics can elevate your Serious Eats Dry Brine Turkey, but if something is unavailable, here’s how to make swaps:
Fresh Herbs Substitute:
- Fresh Rosemary → Dried Rosemary: Use ⅓ the amount of dried rosemary (dried herbs are more concentrated).
- Fresh Thyme → Italian Seasoning or Dried Thyme: Italian seasoning blends work well when fresh thyme isn’t available. Use half the amount of the blend.
- Fresh Sage → Poultry Seasoning: Sage is a key flavor for turkey. If you’re out of fresh sage, dried sage or a pinch of poultry seasoning will complement the dish nicely.
Allium Substitute:
- Garlic Powder → Fresh Garlic: Swap 1 teaspoon of garlic powder with one finely minced fresh garlic clove.
- Onion Powder → Onion Salt or Fresh Onion: Use double the amount of finely grated fresh onion to replace onion powder.
5. Olive Oil or Butter Substitute for Basting
While basting is optional in a Serious Eats Dry Brine Turkey, many enjoy brushing the turkey with fat before roasting to enhance browning. Here’s what you can use if olive oil or butter isn’t on hand:
- Vegetable Oil or Canola Oil: These neutral oils can replace olive oil and have a higher smoke point, reducing the risk of burning.
- Ghee (Clarified Butter): Ghee provides a buttery flavour and an even higher smoke point than regular butter, making it perfect for roasting.
- Duck Fat or Lard: For a rich and luxurious flavor, use duck fat or lard as your basting fat. These enhance the depth of flavor and create extra crisp skin.
Final Thoughts
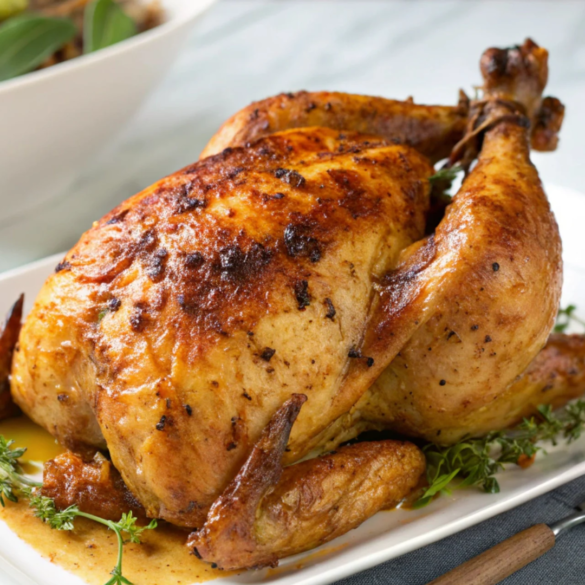
With the Serious Eats Dry Brine Turkey recipe, there’s no more need to stress about achieving perfection. Follow these easy steps, add your personal touch with seasonings, and you’re guaranteed to serve a show-stopping turkey this holiday season.
More Meat Recipes:
Ingredients
For the Brine:
- Kosher Salt: You’ll need about 1 teaspoon
Optional Seasonings (customize as you like):
- Ground black pepper
- Brown sugar, white sugar, or maple sugar
- Lemon or orange zest (for brightness)
- Garlic powder
For the Turkey:
- 1 whole turkey, about 12–16 pounds
For Roasting:
- Optional: Olive oil or melted butter for basting
- Aromatics for stuffing the cavity
Instructions
Step 1: Prep the Turkey
- Thaw the turkey (if it's frozen). Place it in the fridge a few days in advance to allow it to defrost completely. Cooking a partially frozen turkey will lead to uneven cooking.
- Remove the neck, giblets, and excess fat from the cavity. Pat the turkey dry using paper towels; the dryer the skin, the crispier it will get.
Step 2: Apply the Dry Brine
- Measure the salt: Use about 1 teaspoon of kosher salt per pound of turkey weight. You can add other seasonings like sugar, citrus zest, or herbs to the salt if desired, but keep the salt as your base.
- Loosen the skin of the turkey: Starting at the cavity or neck, gently slide your fingers under the skin of the breast and thighs to separate it from the meat. This allows some of the brine to penetrate directly under the skin.
- Salt the turkey: Sprinkle and rub the salt mixture evenly over the surface of the turkey, including under the skin and inside the cavity. Be generous but not excessive.
- Place the turkey on a wire rack set inside a rimmed baking sheet, breast-side up. This setup allows any moisture drawn out by the salt to drain off, keeping the skin dry.
- Refrigerate the turkey, uncovered (or lightly covered with plastic wrap), for 12 to 48 hours, depending on how much time you have. The longer it sits, the better.
Step 3: Rest and Prep before Roasting
- After brining, remove the turkey from the fridge and let it sit at room temperature for about 1–2 hours. This helps ensure even cooking.
- If there is excess salt or any visible moisture on the skin, gently wipe it off with a paper towel. Refrain from rinsing the turkey, as this can ruin the skin's crispiness and spread bacteria.
Step 4: Roast the Turkey
- Preheat your oven to 450°F (232°C) for a high-heat roast, or 325°F (163°C) for a lower, slower roast.
- Place the turkey breast, skin-side up, on a rack in a roasting pan. If desired, rub the skin with olive oil or melted butter for added flavor and browning.
- Insert the thermometer probe into the thickest part of the breast (avoid bone). Monitor the temperature to avoid overcooking.
- Roast until the breast meat reaches 155°F (68°C) and the thigh meat hits 165°F (74°C). For a spatchcocked turkey, this usually takes about 90 minutes (for a 12–14 lb bird). A whole turkey may take 2–3 hours at lower temperatures, depending on its size.
- If the skin browns too quickly, tent the bird loosely with foil.
Step 5: Rest and Carve
- Remove the turkey from the oven and let it rest for at least 20–30 minutes. Resting allows the juices to redistribute, ensuring moist and flavorful meat.
- Carve the turkey and serve!